

![5-Minute Flexible Toughened Epoxy [Pro Kit] — Quick Bonding, Repairs & Gap Filling](http://starbond.com/cdn/shop/files/5MinuteEpoxyProKit.png?v=1788295229&width=2250)


Plastic Bonding Guide
Start with the exact plastic and the shape of the joint. Two parts that look similar can behave differently once glue touches the surface.
Fine seams and small parts
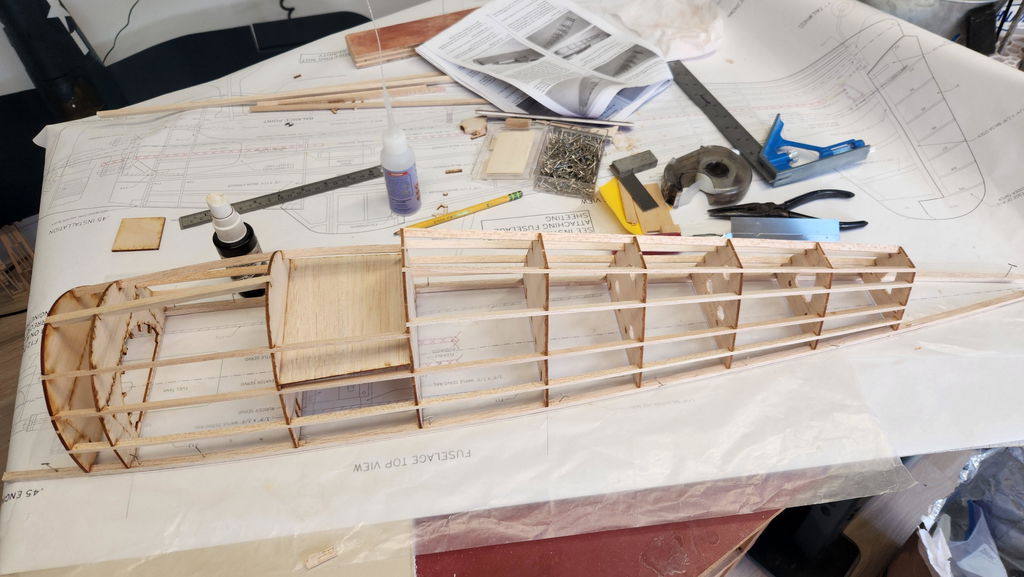
The Hobby & Craft Brush-On formula gives you a brush applicator for controlled coverage on model parts and detailed edges.
Explore Brush-On Super GlueVertical joints and precise placement
Hobby & Craft Gel stays where you place it. Use it when a flowing adhesive is difficult to keep inside a small joint.
Explore No-Drip Gel3D-printed projects
Browse adhesives and supporting tools for printed-part assembly, filling, and finishing. Your filament or cured resin still needs its own compatibility test.
Shop 3D Printing EssentialsCheck before you bond
- Identify the plastic, filament, or resin and any paint or coating on the surface.
- Test the adhesive on a spare piece or a hidden area. The listed PLA, ABS, and resin applications vary by manufacturer and finish.
- Dry-fit the parts and decide whether you need a flowing brush-on formula or a gel that stays in place.
- Follow the chosen product's preparation and cure directions before putting the part back into use.
Working with craft foam? The Hobby & Craft formulas are developed for EPS, EPP, and XPS foam, wood, and balsa. Check the exact product instructions before using an accelerator or remover on a delicate surface.